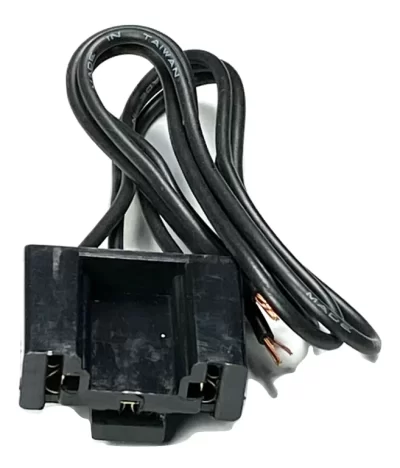
Thanks for the info on current draw - very timely! I have a new blower motor on order I was going to bench test but my new DC Amp meter arrived first.
")
. I put the clamp on the blower motor wire yesterday and got readings of (about/from memory) 8.4A on high, 5.4A on medium, and 3.9A on low. Blower motor is still in the car, with the hamster wheel attached so it sounds like that's not too far off the mark. Wiring on the engine side was already warm after only a few minutes, not hot but you could tell it was doing some work.
I would love to wire in some relays, like i did for the headlights - thanks for the schematic!
I cleaned and tested both the blower motor switch and vacuum switches, I'm confident they are working well (and Deoxit is great for cleaning up switches and connections BTW).
Regarding LOW, I was surprised to I got an Amp reading on LOW setting yesterday so i turned off everything making any kind of noise in the garage and only then i could hear the motor running. You don't feel anything coming out of the ducts (Note: this is just using battery power - car is not running). I'm glad you show the 3 terminal blower motor switch. When i had that apart on the bench I could swear the glide wasn't doing anything on LOW - or maybe just over the black wire. The schematic is hard for me to follow but it seems LOW only works on HEAT (and I assume DEFROST based on the bus in the vacuum switch for HEAT and DEFROST keys. FWIW, a good fan and defrost is really what I'm concerned about working -- so I can defog windows when i get caught in the rain).
ps - i really appreciate your video series on ammeters and charging circuits on YouTube, just excellent! I realized you ended that series, but if you're considering more I'd love a comprehensive one on setting up fuel sending units and gauge calibrations. I'll buy you a beverage of your choice! Thanks again
@72RoadRunnerGTX !