69 Polara, removing tail light lenses

polarnj

Member
Joined
Sep 25, 2024
Messages
71
Reaction score
17
Location
NJ
Mine currently has the Monaco lights, they look cool but some day I might want to find correct 69 Polara lights. Plus I'd like to take these ones apart and clean them.

Do the lenses and bezels come out easily, or does the bumper have to come off? Looks like it has a black painted extension running around the edges that's tucked into the rear bumper
 
Rather than just tell you, I'm gonna show you how to figure this out.

I've never had a '69 Dodge tail light out, so I know nothing. Well, really I'd have an educated guess, but follow along with me... Here's how I'm going to figure it out if it was my car.

First, open Google and type "1969 Monaco tail lights" and hit "search". Now just search for images. I just did this and came up with some pictures on eBay (which is always a good place to get pictures). Going through the pics I see some that show the tail light, but I'd see any screw holes on the outside. Go through some more, and voila, there's a pic of the rear of the tail light housing. I see studs sticking out and then phillips screws holding the lens to the housing. So, the studs have to go in holes somewhere and they are right next to the holes for the light bulbs. I know that a lot of older Mopars let you change light bulbs from inside the trunk, so chances are the studs poke into the trunk.

1729974908063.png


Now, the easy way is to just open the trunk, but let's say I want to verify this. Google "69 Monaco trunk" and not surprisingly, I end up on the forum with some car that was for sale and there are some pics that show me I'm right that they are removed through the trunk. Quite frankly, I got a little lucky finding this one, but the pic shows the tail light wiring and the nuts for the studs.

1729975092598.png

1729975551880.png


It would have been easier to just tell you "it's in the trunk", but I go back to when I worked for a living and had to teach new guys how to do things. I always figure it's the "teach a man to fish" that wins out for everyone in the long run.
 
Rather than just tell you, I'm gonna show you how to figure this out.

I've never had a '69 Dodge tail light out, so I know nothing. Well, really I'd have an educated guess, but follow along with me... Here's how I'm going to figure it out if it was my car.

First, open Google and type "1969 Monaco tail lights" and hit "search". Now just search for images. I just did this and came up with some pictures on eBay (which is always a good place to get pictures). Going through the pics I see some that show the tail light, but I'd see any screw holes on the outside. Go through some more, and voila, there's a pic of the rear of the tail light housing. I see studs sticking out and then phillips screws holding the lens to the housing. So, the studs have to go in holes somewhere and they are right next to the holes for the light bulbs. I know that a lot of older Mopars let you change light bulbs from inside the trunk, so chances are the studs poke into the trunk.

View attachment 688890

Now, the easy way is to just open the trunk, but let's say I want to verify this. Google "69 Monaco trunk" and not surprisingly, I end up on the forum with some car that was for sale and there are some pics that show me I'm right that they are removed through the trunk. Quite frankly, I got a little lucky finding this one, but the pic shows the tail light wiring and the nuts for the studs.

View attachment 688891
View attachment 688892

It would have been easier to just tell you "it's in the trunk", but I go back to when I worked for a living and had to teach new guys how to do things. I always figure it's the "teach a man to fish" that wins out for everyone in the long run.

Thx, I've done that in the past :)

The thing I want to know that the pics don't show is does the black area on the top and bottom keep it from coming out without removing the bumper? Looks like it's tucked in there pretty good
 
Thx, I've done that in the past :)

The thing I want to know that the pics don't show is does the black area on the top and bottom keep it from coming out without removing the bumper? Looks like it's tucked in there pretty good
I'm not sure what the "black area" is, so I would try taking the nuts off in the trunk. The entire housing is going to come out and from there you can remove the lens if that's what you want to do.

1729976179829.png
 
When you get the assy off of the car and the outer lens removed you WILL find "dust" in there. Where did it come from? Look on the bottom part of the lens where it mates to the housing. In that area you will probably find a small "half-circle" that has a white fabric "filter" there. Kind of reminded me of a cigarette filter element, with out the cigarette and trimmed to the necessary length. It can be fragile!

Also, do not damage or remove the thin, white plastic "seals" around the mounting studs! That's what keeps dust out of the luggage compartment. Reuse.

DO carefully wipe things down to reveal the dull silver reflector area. You can refinish that area with bright silver spray paint, or even some of the "chrome" paint available. Also wash the inside of the lens itself.

Might need to be careful of the dried gaskets, too.

CBODY67

Thx for the info, surprisingly complex piece!
 
Get dirty, then ask if you have issues. Many of your questions can be answered by just digging in.


Alan
I agree that getting started will get one to see problems, but a lot of time can be often saved by getting the information from someone who has gone already through the process -- if that person is willing to share the info and/or pics.

That is, there may be some common mistakes that one might make, and the posts like those by you, @Big_John and @CBODY67 above are super-helpful in that spirit. For the question of moving the bumper, should I assume from your post that it is pretty straightforward and there is no major mistake that @polarnj might make?

As for suggestions:

@71Polara383 has removed/reinstalled a number of bumpers on his and my C-body fuselage Dodges, and he may have posted photos illustrated the issues encountered (if any) in those threads:

Medina, a 1971 T-code Monaco

Meet Regina FQ3, a 1970 Polara convertible who turns 51 today

Meet Snow White, my 1970 N-code Dodge Polara Convertible

As well, @1970FuryConv has a very detailed thread re; the restoration of his 1970 Fury convertible that has helped me out in the past:

1970 Fury III Convertible 126115 miles: Intro & Planned 440/727 Swap
 
Thx, how do you move the bumper?
@ayilar
I have not removed a 1969 Polara/Monaco bumper in many years.
However,
Generally, the bumper is moved/removed with the bumper brackets attached.
1. I don't think your car has a rear valence or wiring to lights in the bumper, so no action required for either
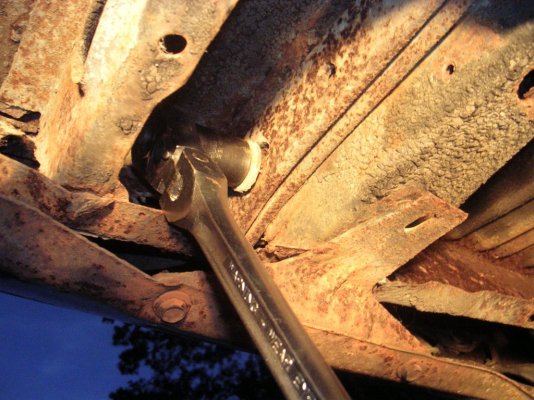
2. In the corners of the trunk compartment, you will find 2 studs that look like this. Loosen the stud nuts the same distance as you want to move the bumper. (pictures from 1970 parts car)
DSCN8594.JPG
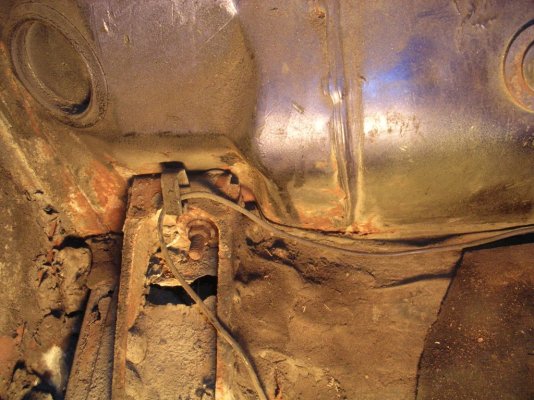
3. At the outside of both sides of the rear subframe, the bumper brackets bolt to the subframe thru adjusting slots in the bumper bracket. You need to loosen the 2 adjusting bolts on each side. After that you should be able to pull the bumper and brackets back by the amount of the adjustment left in the bumper bracket slots, It the bumper won't move inspect for small fasteners that might be holding it in place. Barring that, you may have to hit the bumper brackets with a punch and a big hammer (BFH) to break loose rust.
Driver (left side)
DSCN8596.JPG
Passenger (right side)
DSCN8602.JPG
DSCN8603.JPG
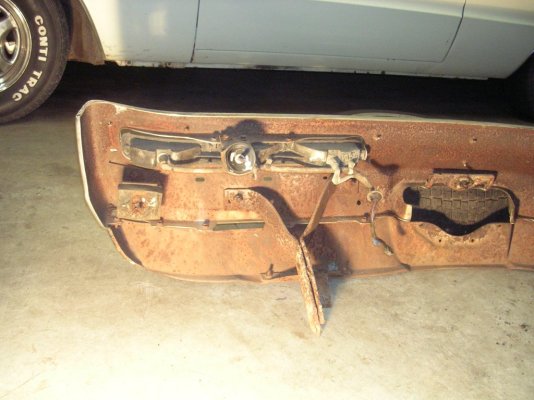
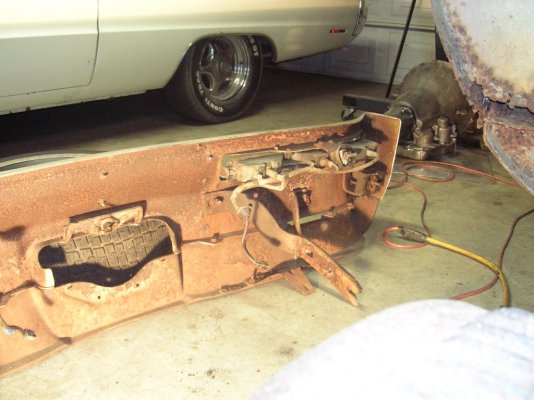
Just to give you an idea, this is a 1970 plymouth rear bumper with brackets
DSCN8631.JPG
DSCN8632.JPG
DSCN8633.JPG
Hope this helps!
 
Back
Top