The Charles Kee Wagon

I spent a few more nights working on the wagon the last couple of weeks. Progress is slow and I don't have a lot to show, but I thought I'd update the thread with a few pics anyway.

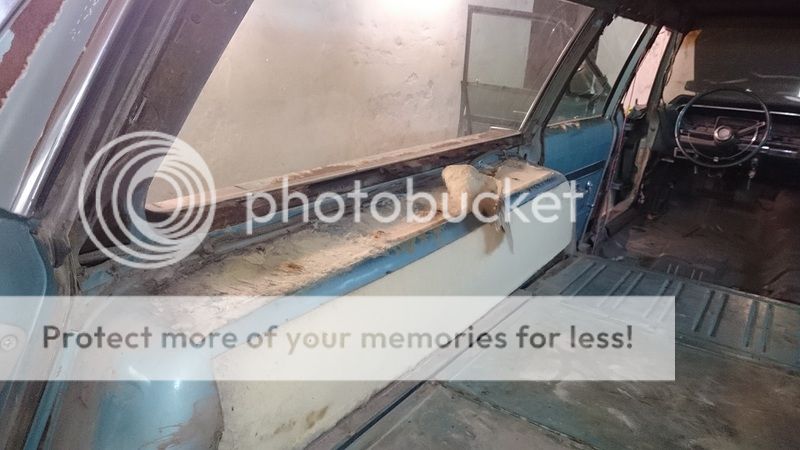
First I finished scraping the original carpetting from the rest of the interior panels.


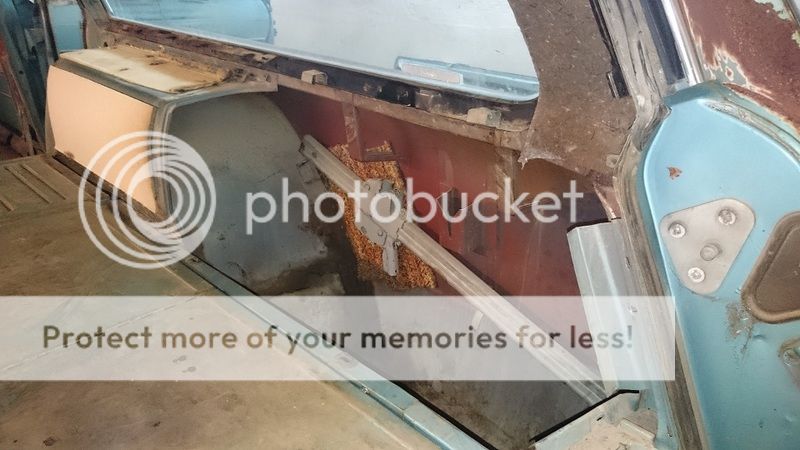
I used my car and some start cables so I could lower the rear window and open the tailgate.


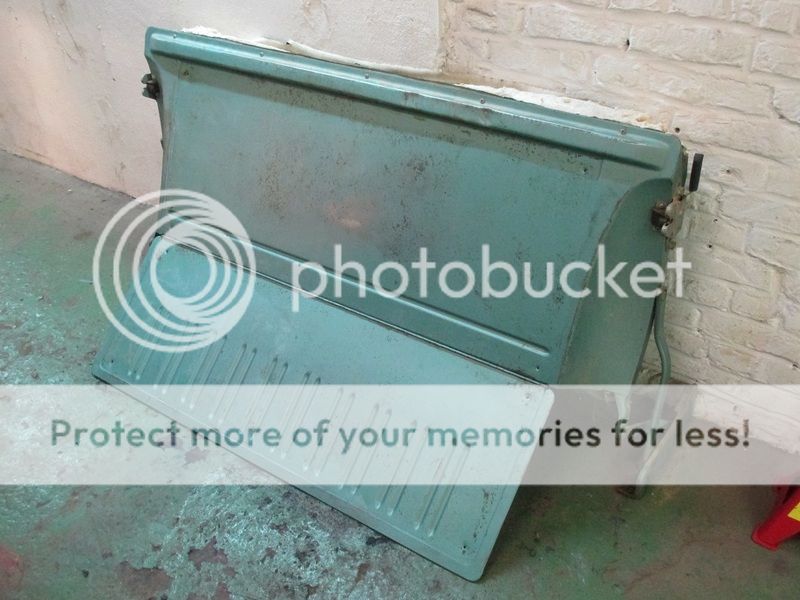
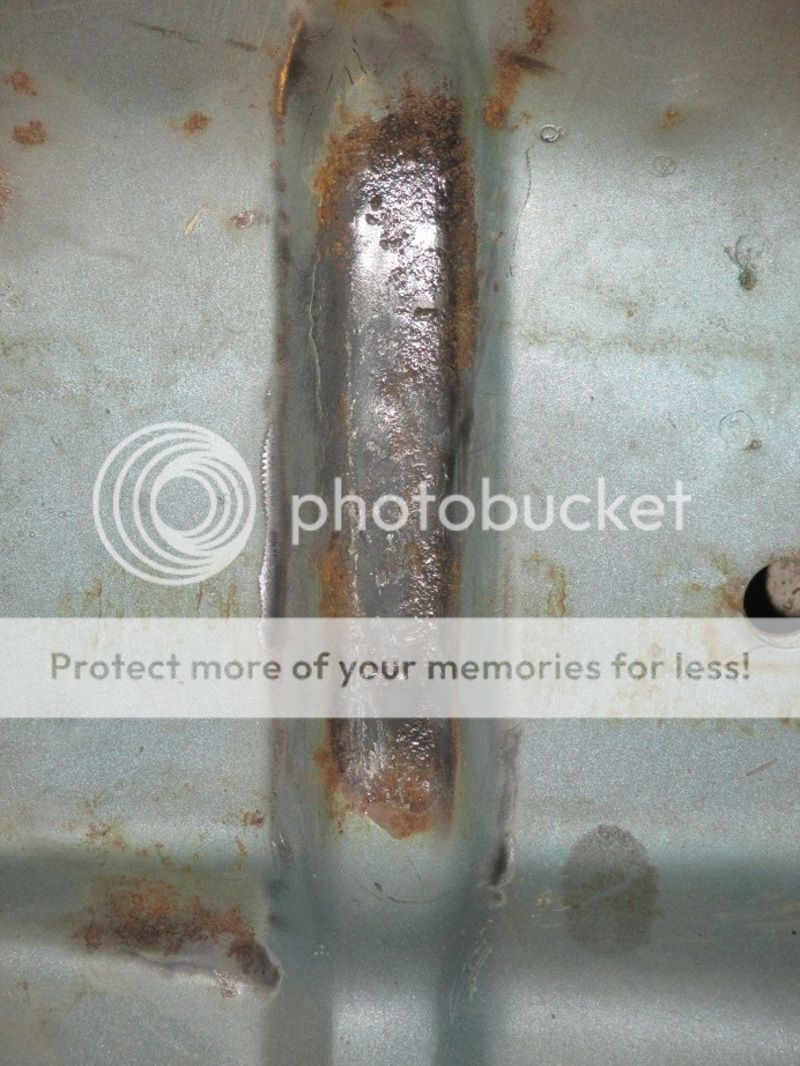
The lower panel was quite rusty, I suppose from years of sitting outside with a bad weatherstrip. The carpet was glued to a thin metal panel that was riveted to the tailgate, which was completely rotten. The panel underneath is still solid even though it's a bit thin in places.
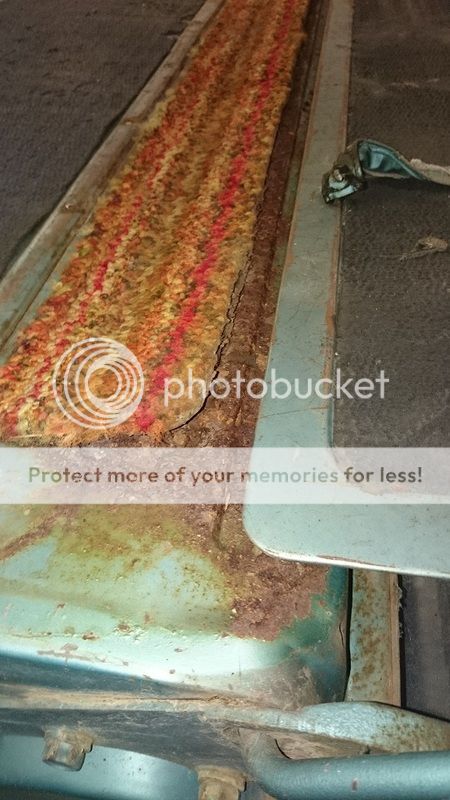
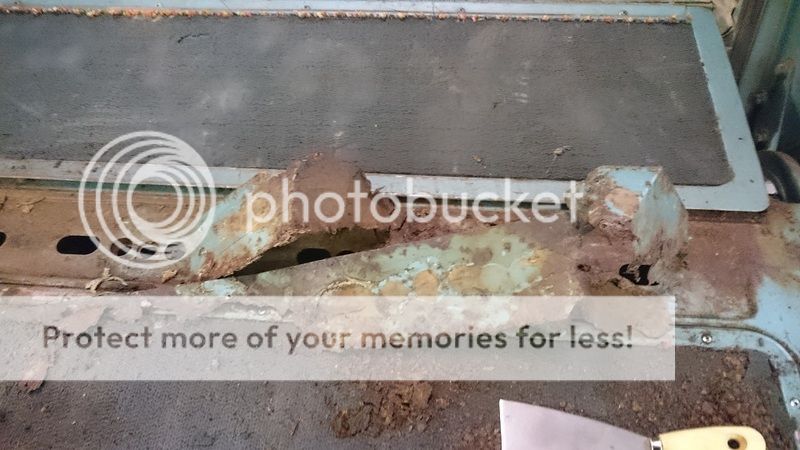
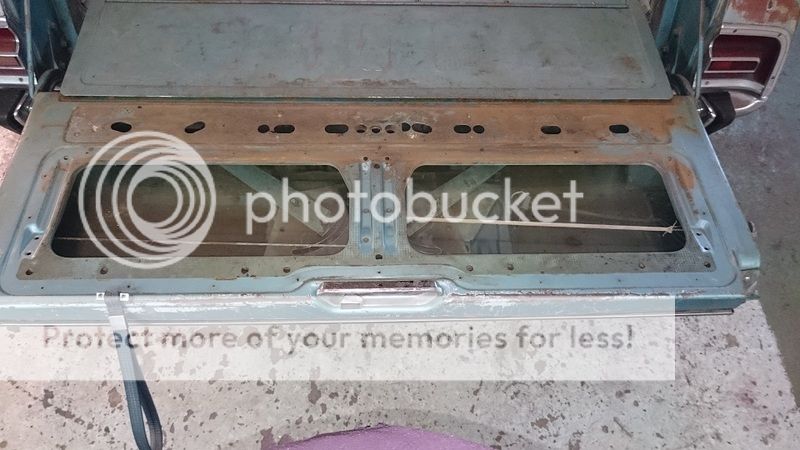

Opening the tailgate also allowed me to finally remove the last pieces of interior trim.

 
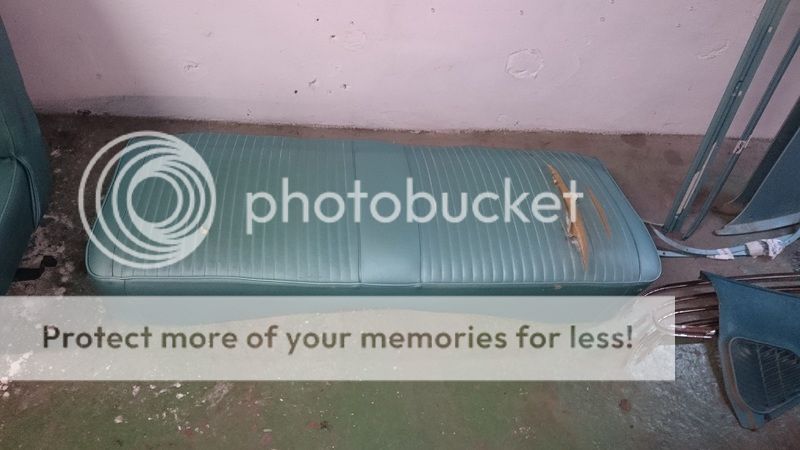
I also scrubbed the seats with a stiff brush and a lot of hope, but could not get them cleaner than this. They're just burned from the sun. They'll have to do until they get recovered.

 
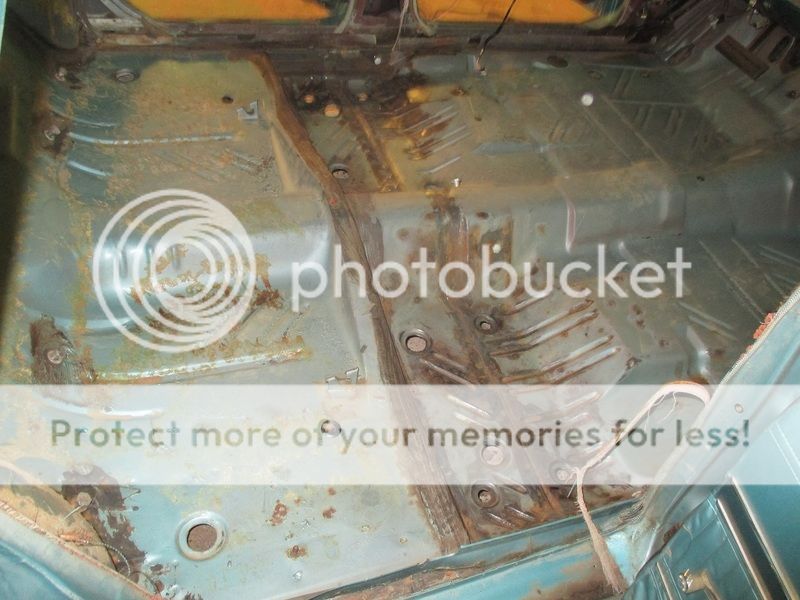
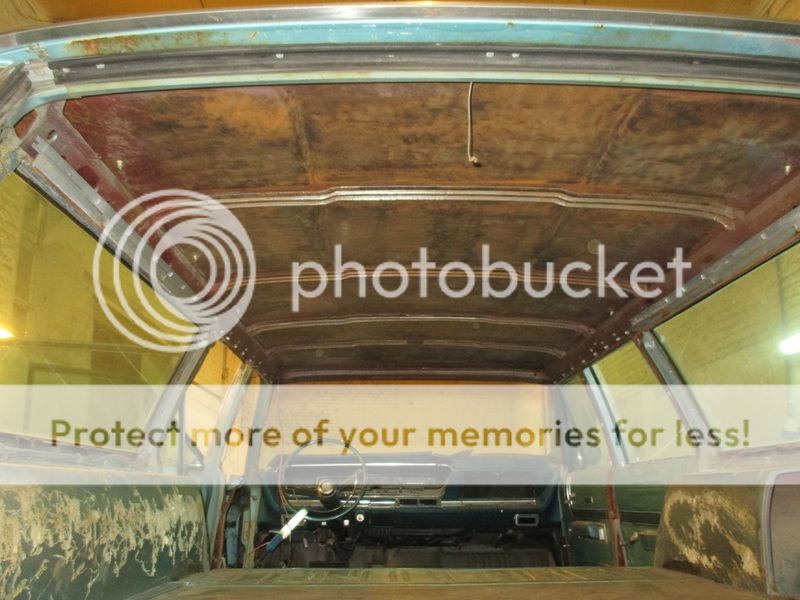
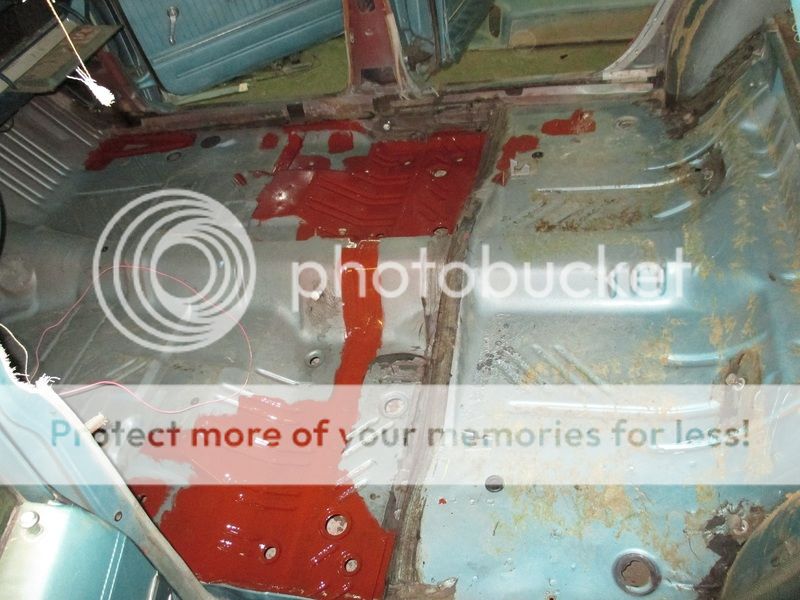
Then I wire wheeled the roof and floors.


The interesting thing is that most of the surface rust was under the factory sealant.


I painted the roof and the floors with Hammerite Minium primer. It looks bright orange in the pics but is really dark red, and very close to the roof's original finish.


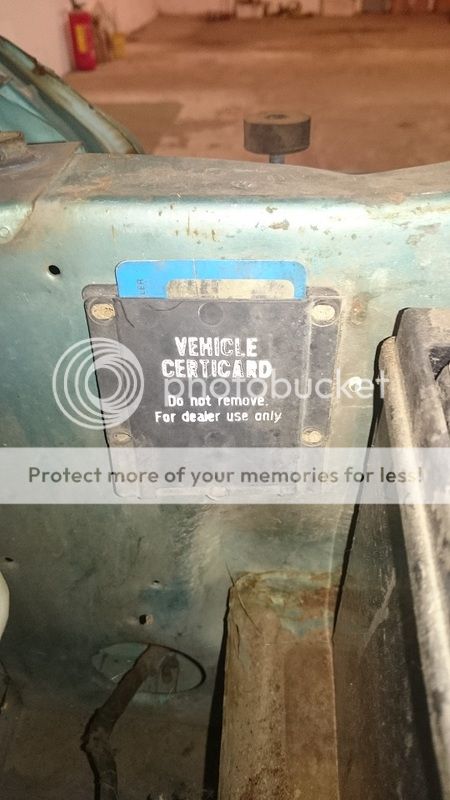
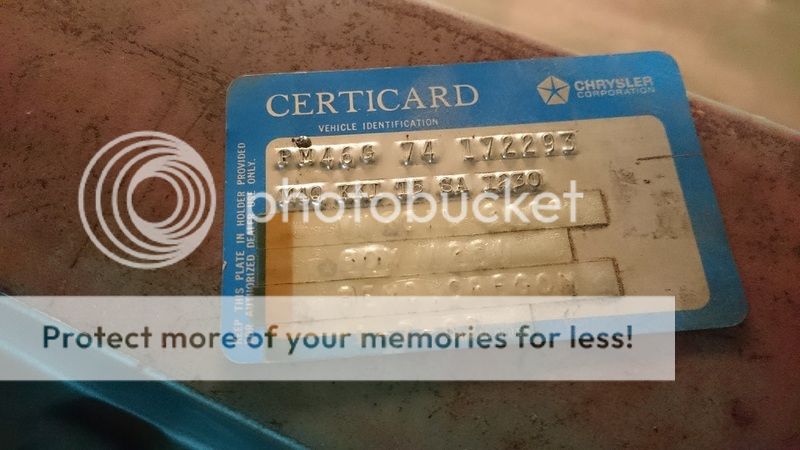
So this is now up to date. I took a bazillion other pics to help me when it's time to put it all back together, but they're really not worth showing. I'll just put those last three : the fender tag, and the certicard in the name of Virgil Pace, from Bend Oregon.


Oh, and it also seems I'll have to remove the dash if I want to change the windlace... which means I'll need to remove the windshield from what I've read... :-/ Not something I'm looking forward to.
 
Thanks for the update.

If I recall correctly, you can indeed replace the windlace without having to mess with the dash.
A bunch of trim pieces but that's about it.
 
Thanks for the update.

If I recall correctly, you can indeed replace the windlace without having to mess with the dash.
A bunch of trim pieces but that's about it.


I really don't see how but we'll see... I know nothing about these cars!
 
Hi Georg. Thanks for asking... I noticed it's been one year since I didn't update this thread – shame on me!!! I hate it when people start a thread on a forum then don't follow through, and that's exactly what I did... :rolleyes: So I'll recap what happened since october last year.

When I got the car last year, the friend who imported it for me agreed to let me store it in his workshop. I knew he would be moving quickly, so I couldn't really start tearing into the brakes and suspension – that is why I started with the interior cleaning.

This is all the trash I took out of the car, but I was left with a somewhat clean interior compartment.
DSC_0240%201024x576.jpgIMG_0257%201024x768.jpg

I also received my first order from Rockauto, with all front suspension and brake parts, as well as a carpet set from ACC, door weatherstrips and some other random parts.
DSC_0242%201024x576.jpgDSC_0244%201024x576.jpg
DSC_0246%201024x576.jpgDSC_0247%201024x576.jpg

(As you can see, I took the decision to go with 73 discs to replace my worn out Budd originals.)
 
In December, it was time to move the car and bring it to my friend's new workshop. I got a parking spot in the adjacent carport, which looked huge when empty but not that much with the barge in it...!

IMG_0261%201024x768.jpg
IMG_0277%201024x768.jpg
 
Good stuff, Now get to work! Looks like a really nice project.
 
With the car in its new spot, I could finally put it on jackstands and disassemble the front brakes and suspension.

This proved quite frustrating at times, for several reasons:
* First of all, the shop is about 1/2 hour from my house, and has no lighting. Everytime I go there to work, I need to 'setup' (cord reel, lights, tools, etc) and of course clean afterwards, which means that even if I leave home for 3 hours, I can only manage 1 1/2 hour effective work.
* Sometimes, I wouldn't have the right tools with me - I only had metric stuff before buying this car – so I would lose an evening's work because of that.
* When working late, I always need to be careful not to make too much noise for the neighbors. There were times I needed to remove bolts and such with an impact airgun, or needed to hammer something out, but decided not to because it was too late and too noisy.

But in the end, I managed to get it all out.

Here are some bad pics showing the condition of the suspension and various bushings:
DSC_0267%201024x576.jpg

DSC_0265%20576x1024.jpg

Bent strut rod:
DSC_0262%201024x576.jpg

IMG_0305%201024x768.jpg
 
I thought I would use the opportunity to give my 2 cents regarding suspension removal. I read the manual and the threads posted on this forum before attempting the work, but still encountered some issues.

I decided to buy the mancini tools to do the work, and bought the complete set of tools, hoping most of them would work on my C Body. Well... they don't. I was only able to use the upper ball joint socket, the torsion bar tool, and the upper control arm bushing remover (but only for installation, it's too small for removal). All the rest was useless, even the spreader tool.

The only thing that worked for the upper ball joint was this:
images.jpg


The lower ball joint did not want to come loose either. I had to remove the lower arm, spindle and disc as a complete unit. The spindle and the control arm only separated after banging on them with a pickle fork and a BFH for at least 15 minutes. Nothing else worked.

The front struts bolts only came loose with an impact gun.

Don't let anybody make you believe you can attempt this in a week-end. No way... :) Or maybe I'm just really slow, I don't know...
 
Thanks for the pictures and words, Yves. I can imagine that it isn't easy to work on it under these circumstances. Do you have a dealine when it should hit the road again?
 
Yeah... asap!
There are more pics to come but I'll update the thread in the coming days as I don't have too much time on my hands right now.
 
Back
Top