You are using an out of date browser. It may not display this or other websites correctly.
You should upgrade or use an alternative browser.
You should upgrade or use an alternative browser.
New member intro : '57 Desoto Firesweep
- Thread starter baker53
- Start date
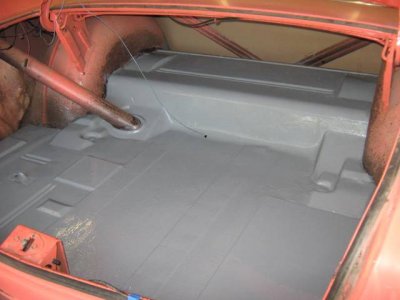
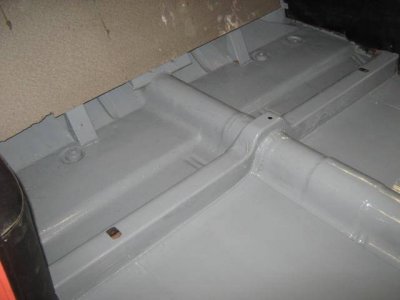
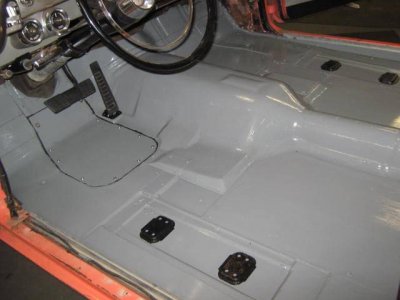
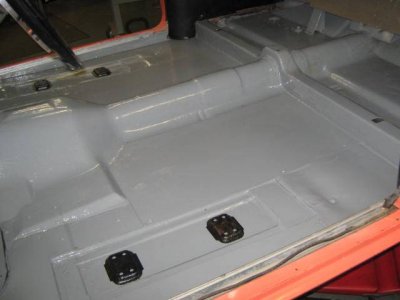
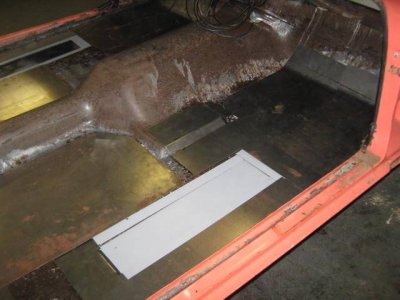
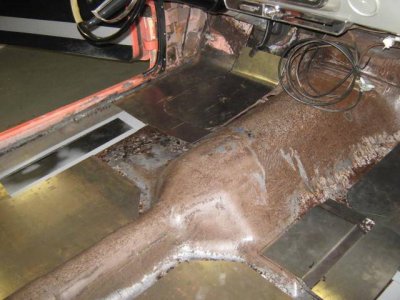
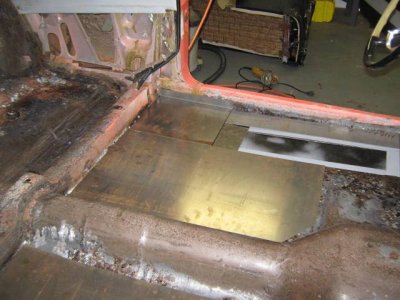
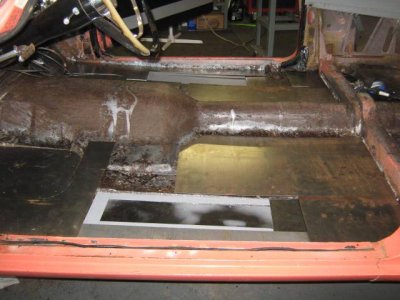
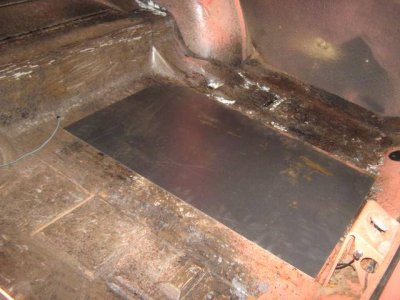
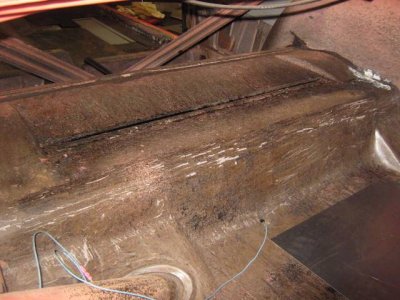
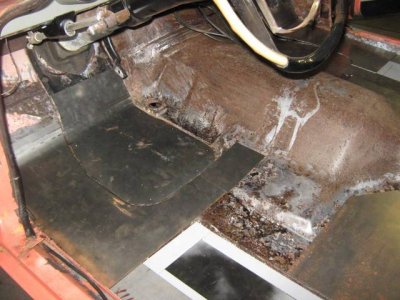
I've been working on the floors for the past week or so. All the interior is stripped to bare metal. I still have to strip the trunk and then get busy on the patch panels. I plan to seal the patch panels with poly-urethane sealer and follow that with black Rustoleum paint. I'm not sure if I will do anything more to the floors and just let the upholstery shop apply the stuff that they normally use below the carpet. The heat gun and the scraper has been getting a workout removing all the coating material the factory sprayed on the floors. Fortunately, I won't have to fabricate many patch panels. The biggest problem was on the removable panel that allows access to the steering column for removal. I will be able to use the old panel as a model to fabricate the new one. I had purchased left and right front patch panels before I received the car and will not be using them. If anyone has a need for them, please let me know.
Gave the metal shear and the box brake a workout today. Finished cutting the various pieces for the interior floor. Hopefully, I will get the trunk done in the morning and put Rustoleum on the underside of the panels as well as the metal that is part of the original floor. If that dries by Saturday, I'll start welding the various parts of the jigsaw puzzle together.


VAN HELSING
New Member
- Joined
- Mar 21, 2014
- Messages
- 48
- Reaction score
- 8
Bill, are you going to reproduce the original swage lines and forming lines in the floor ? Just wondering because the floor might be a little " fluttery "and weak without the swage/forming lines and forming put back into it.
VAN HELSING
New Member
- Joined
- Mar 21, 2014
- Messages
- 48
- Reaction score
- 8
Thats the word I was trying to think of Bill............ tin canning.................. " fluttery" was all I could think of at the time........ you know what it's like when you get those " memory blanks " !!!
Seems to be happening more and more the older I get !!! LOL
Seems to be happening more and more the older I get !!! LOL
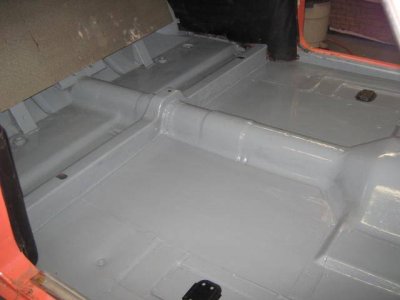
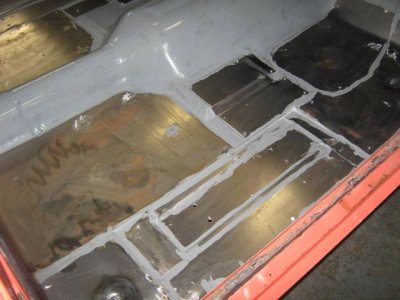
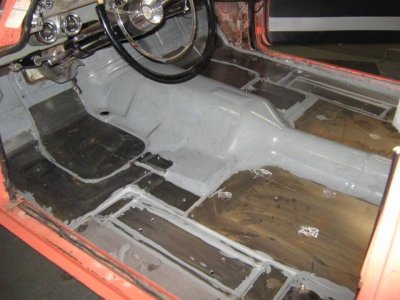
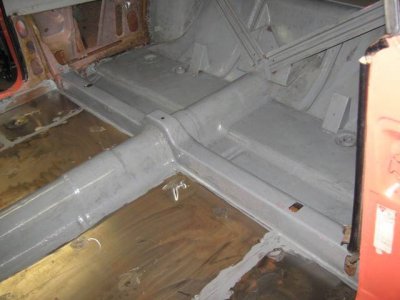
The interior floors are just about completed except for final paint which I will do tomorrow. I ended up cutting and fitting about 23 pieces for the floors. The shear, brake, MIG, and me got a workout over the past week or so. I applied seam sealer this evening and that should be cured by tomorrow and I'll hit the floors with gray Rustoleum paint. BTW, I installed "V" brackets on the back side of the larger panels to prevent "tin-canning".


VAN HELSING
New Member
- Joined
- Mar 21, 2014
- Messages
- 48
- Reaction score
- 8
........
Bill,
Looks like it's gonna last another 55 years at least ............ nice work !!!
.........
Bill,
Looks like it's gonna last another 55 years at least ............ nice work !!!
.........
polara71
Old Man with a Hat
Excellent.........
I live near a mini junkyard where a guy has a 57 dodge convertible that thay only made 500 of nothing fancy about it tho although very cool a person left it there after he hit the guys mailbox and never came back for it and has sadly completely rotted in the ground
- Joined
- Nov 14, 2010
- Messages
- 28,565
- Reaction score
- 28,448
Nice work on those floors.
bluefury361
Old Man with a Hat
I live near a mini junkyard where a guy has a 57 dodge convertible that thay only made 500 of nothing fancy about it tho although very cool a person left it there after he hit the guys mailbox and never came back for it and has sadly completely rotted in the ground
:sSig_greetingsthor: ......

That is a rare find indeed. If you get the chance we woud love to see some pictures of it, no matter what the condition.
bluefury361
Old Man with a Hat
Nice work on those floors.
X2 ........ I was admiring the work too. I have a couple of minor repairs to do on my 61. Passenger side toe board, A small area in the right rear foot well. I wish I had the equipment Bill has.
polara71
Old Man with a Hat
Damn........! Making huge progress, nice
Vanish
Member
Look's damm fine cant wait to see her finnished!
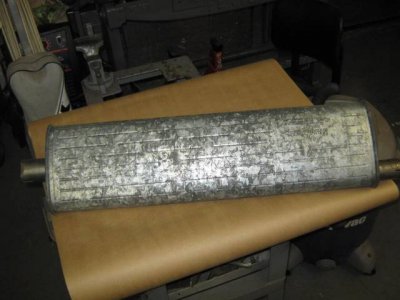
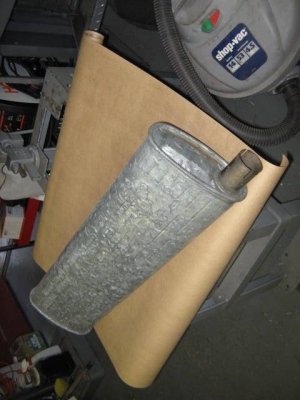
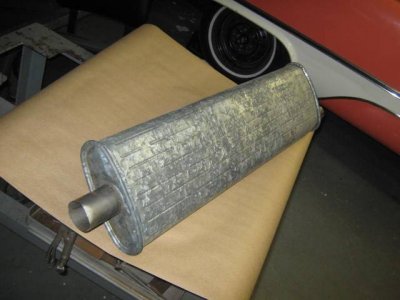
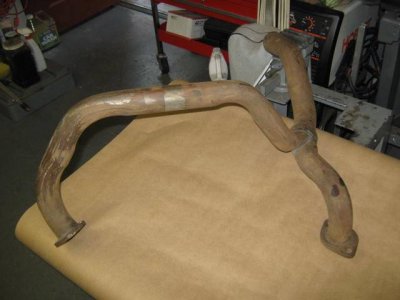
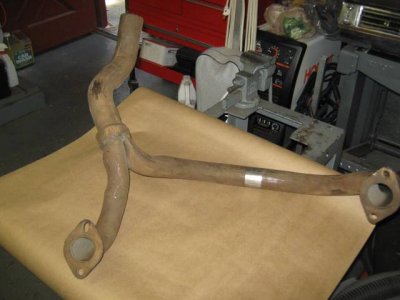
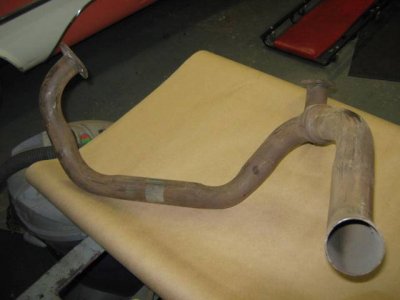
Decided to go with dual exhaust rather than the stock single exhaust. The muffler shop got me done in about 3 hours and they built both sides from the exhaust manifold to the down-swept tailpipe for $350 using the two mufflers that I supplied. Ended up going with 2-1/4" pipe the whole way. In case anyone is interested, I have for sale (1) NOS Muffler with the following markings on it PLY V8 56-57, DODGE V8 56-57, DESOTO 56-57 DUAL, TRIPLE WRAP. I also have a NOS cross-over pipe for the 325 engine. I know it fits a 57 Desoto Firesweep and probably others. The part number on it is 17 ? 6 3 3 50. I can't read the third number if there is one and I think the fourth number is 6.


polara71
Old Man with a Hat
Somebody has got to need those
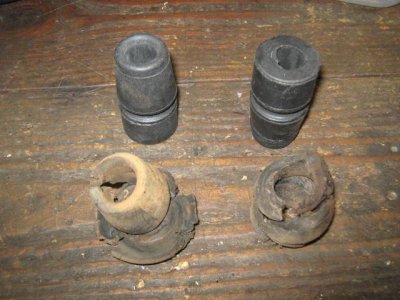
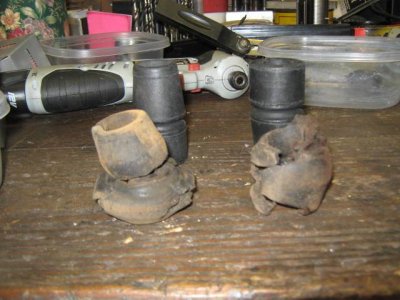
On the way to and from the muffler shop, I was hearing a clunking sound whenever I pressed on the brake pedal. I thought perhaps there was a problem with a spring or a shoe, but after pulling the front drums all looked good there. I then checked the various suspension parts and all were good except for the rubber bushings at the front of the strut rods. Found a new pair at the parts store and now all is well. Took the car for a test drive and it received its first rain bath. Glad to have working wipers. I attached a few pictures of the old and new rubber bushings.


Similar threads
- Replies
- 2
- Views
- 1K
- Replies
- 0
- Views
- 1K
- Replies
- 13
- Views
- 2K

