Meet Ming, my 1973 New Yorker Brougham

Update time!

We got the gates 351170 kit and I pulled the pump off the car and got it torn down on the bench. View attachment 623346View attachment 623347View attachment 623348View attachment 623349View attachment 623350View attachment 623351

My hands got pretty dirty and I didn't get photos of each of the seals after replacement but here's the state of the ones I replaced...the one for the reservoir body was broken and likely why fluid would pour out of the pump.
View attachment 623352

I reinstalled the pump. Topped off the PS fluid. Started the engine. Turned the wheel back and forth a few times and checked the fluid level again. The next day I came back and while under the pump was dry it seems the PS box itself is dripping more than I'm comfortable with. I will be pulling the box and shipping it to Steer and Gear over the winter months.

Moving on to the other issue. The brake bleeder. Pulling it back out wasn't an issue. But finding a match wasn't easy. You'd think Wyatt has a stack of calipers surely one of them would fit? Nope. It was way oversize compared to what I'm used to. Not sure what to make of it. I got an assortment from O'Reillys. None of them would fit. All way too small. A 2nd trip to the Napa Hub store yielded the Golden ticket. I replaced the bleeder and bleed the front brakes and topped of the brake fluid. I took her for a quick spin and the brakes are working great now! I did notice a little wetness on the booster, showing we may need to do a master cylinder at somepoint. View attachment 623359View attachment 623360View attachment 623361

Regarding the steering box leak. I've been MUCH happier resealing them myself than sending a good working box that had a leak out to be serviced.
They didn't come back with the same feel as when I sent them out. And the parts store rebuilt units NEVER fell the same.
The problem was always tracked down to the wrong reaction rings.
I suggest you consider a self-reseal if your box is working and feeling the way you want it to.
We used steer and gear for a rebuild on a different vehicle and while the steering is tighter. It feels natural and pleasant. I'm used to the sloppy steering, so it was definitely a noticeable upgrade.
 
We used steer and gear for a rebuild on a different vehicle and while the steering is tighter. It feels natural and pleasant. I'm used to the sloppy steering, so it was definitely a noticeable upgrade.

Does "tighter" mean "stiffer" and requires more effort to turn the steering wheel? And more caster to get the wheel to return to center? That's the complaint I have.
 
Does "tighter" mean "stiffer" and requires more effort to turn the steering wheel? And more caster to get the wheel to return to center? That's the complaint I have.
Somewhat stiffer. But less wondering and play in the steering. The 1/8"-3/4" of slop in the steering is gone.
 
Somewhat stiffer. But less wondering and play in the steering. The 1/8"-3/4" of slop in the steering is gone.

I don't have any play going down the hwy when the over center high spot in the original box is not worn and is adjusted right. And they are finger effort steering responsive.
I think the increased effort is a result of stiffer reaction springs being installed.
There's a lot going on in that box and a few sensitive internal adjustments to be made. So, I think the rebuild houses are using stiffer reaction springs and tighter sector head spool settings to tighten the box up and calling it the "firm feel" box.
 
Ming's carpet will be replaced with a. molded set from Stock Interiors (made by ACC).

--> Does the OEM material below look like 80-20 loop? @saforwardlook @Big_John @Ripinator

1697898685497.png
 
Ming's carpet will be replaced with a. molded set from Stock Interiors (made by ACC).

--> Does the OEM material below look like 80-20 loop? @saforwardlook @Big_John @Ripinator

View attachment 623621
What I always suggest is to get samples before ordering.

I'm 99% sure the 80/20 is what you want and that's what I have used. I've read that the 80-20 was used in most cars in the 60's/early 70's and nylon loop was used in 60's Fords.
 
I have ACC floor mat samples that I ordered for Medina from Stock Interiors a few years ago. I know for a fact that Medina has 80-20 loop. @71Polara383 will compare them this weekend (I am away from the car) and I will order the carpet on that basis. Thank you guys!
 
With some nice wrenching weather over the last week or so. I got after replacing the carpet and also swapping the bumpers out with the older rechromed ones we picked up a while back.

Ming was excited, as you can see her jaw dropping...

20231113_143651.jpg
20231113_143951.jpg


All the way off

20231113_184903.jpg


These suckers are HEAVY in 73.

20231113_144728.jpg


I flipped it over to disassemble the brackets/structure of the bumper.

20231113_153800.jpg


When separating the bumper itself from the brackets/inner bracing I observed a familiar type of paper...
20231113_153751.jpg
20231113_153850.jpg


I tried to save the pieces but this sheet is toast. Shoot. Its the first one I've located on Ming... oh well. Not an ideal place for paper to last very long. Let alone 50 years.

I moved to the rear of the car and repeated the process.

20231113_163203.jpg
20231113_184921.jpg
 
With the rear bumper off I stripped it down to a bare shell. When I was removing one of the bumper brackets. I seen part of the tail light wiring was smashed/pinched between the bumper and bracket. These shots are after I unwrapped them to see the damage... Id wager this may be part of the reason the headlight switch started to melt down.
20231113_184624.jpg

20231113_184745.jpg


All the pieces.
20231113_184851.jpg
20231113_184941.jpg
20231113_184929.jpg
 
Keeping in mind that this is just a nice driver, I didn't want to get carried away over doing all the little hardware/pieces like I would a complete resto. I still couldn't bring myself to put crusty bracketry on new bumpers. So I grabbed a few cans of rust reformer and wire brushed off loose flakey stuff, and gave everything a couple quick coats.
20231114_161122.jpg
20231114_164523.jpg
20231114_164530.jpg
20231114_170810.jpg
20231114_170824.jpg

20231114_170828.jpg


Following a tip I seen here on the imperial forum...I decided to coat the insides of the bumpers with something to resist corrosion. I picked rubberized undercoating for this job.

20231114_152345.jpg
20231114_153336.jpg
 
With all that stuff drying...I decide to move my focus inside. I pulled sill plates, kick panels, b pillar covers, followed by the seats. Thank God it's a 50/50 bench I was able to handle it myself without too much hassle.

20231113_205605.jpg

20231113_205610.jpg


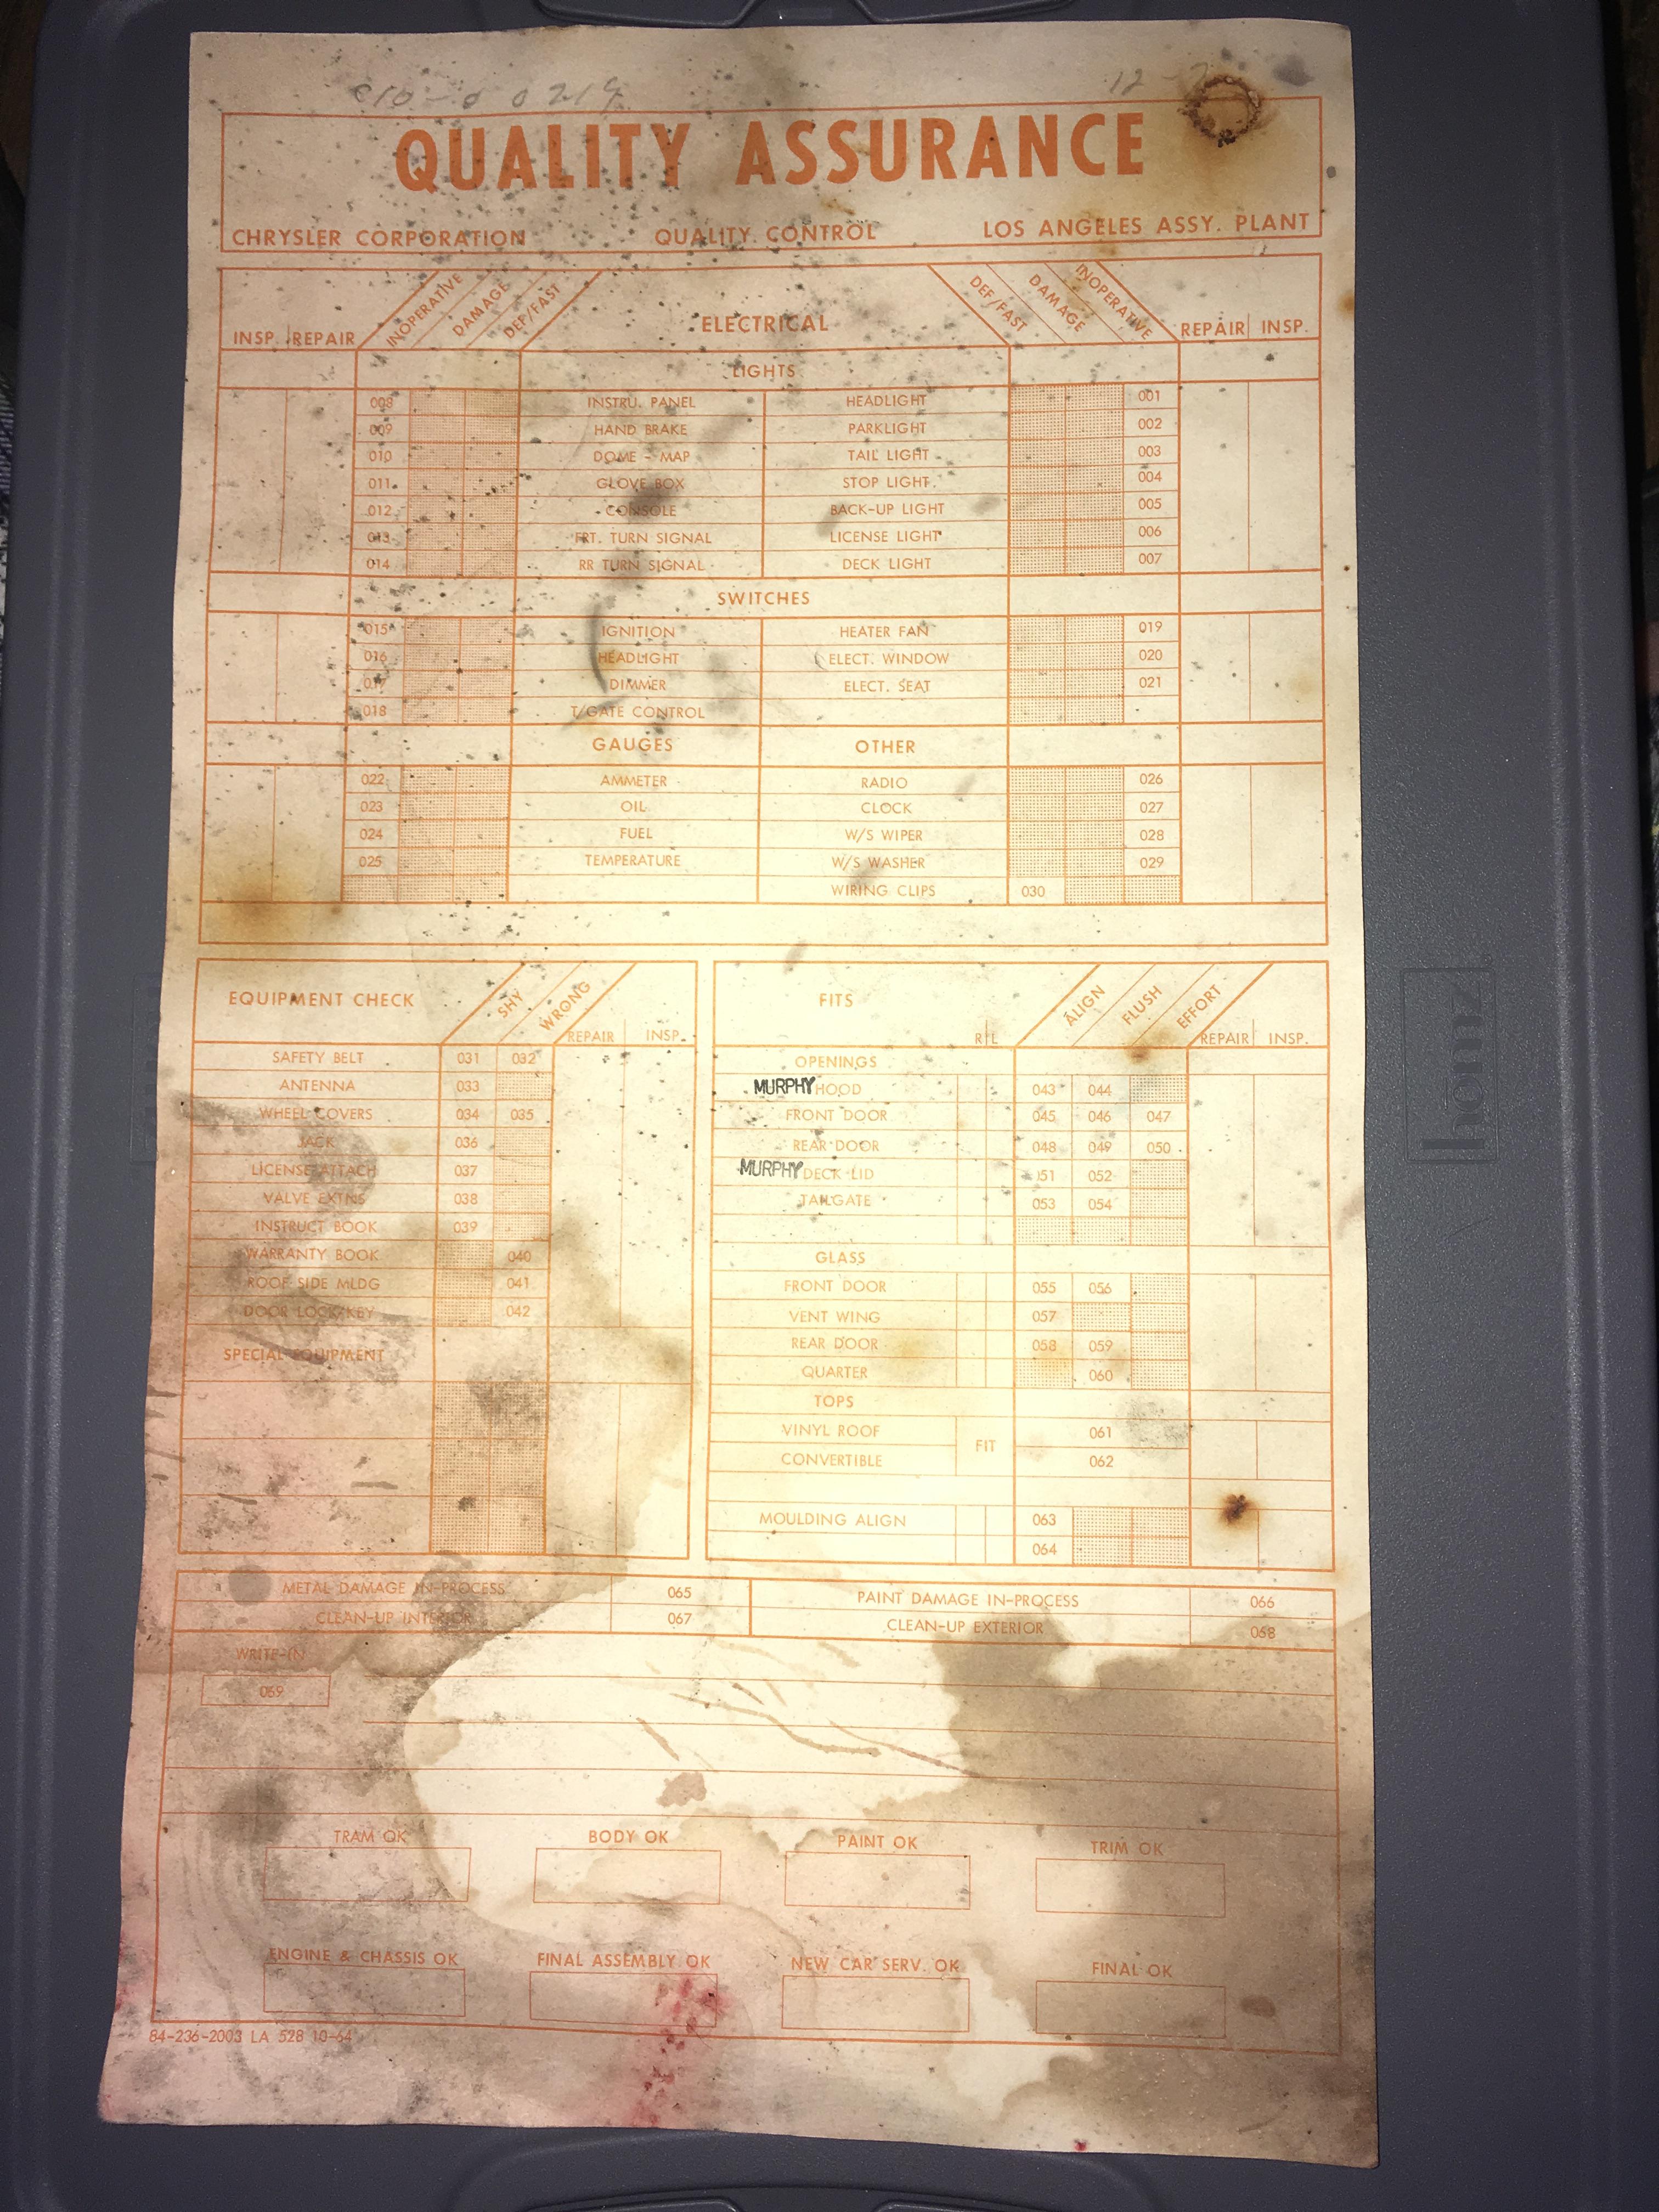
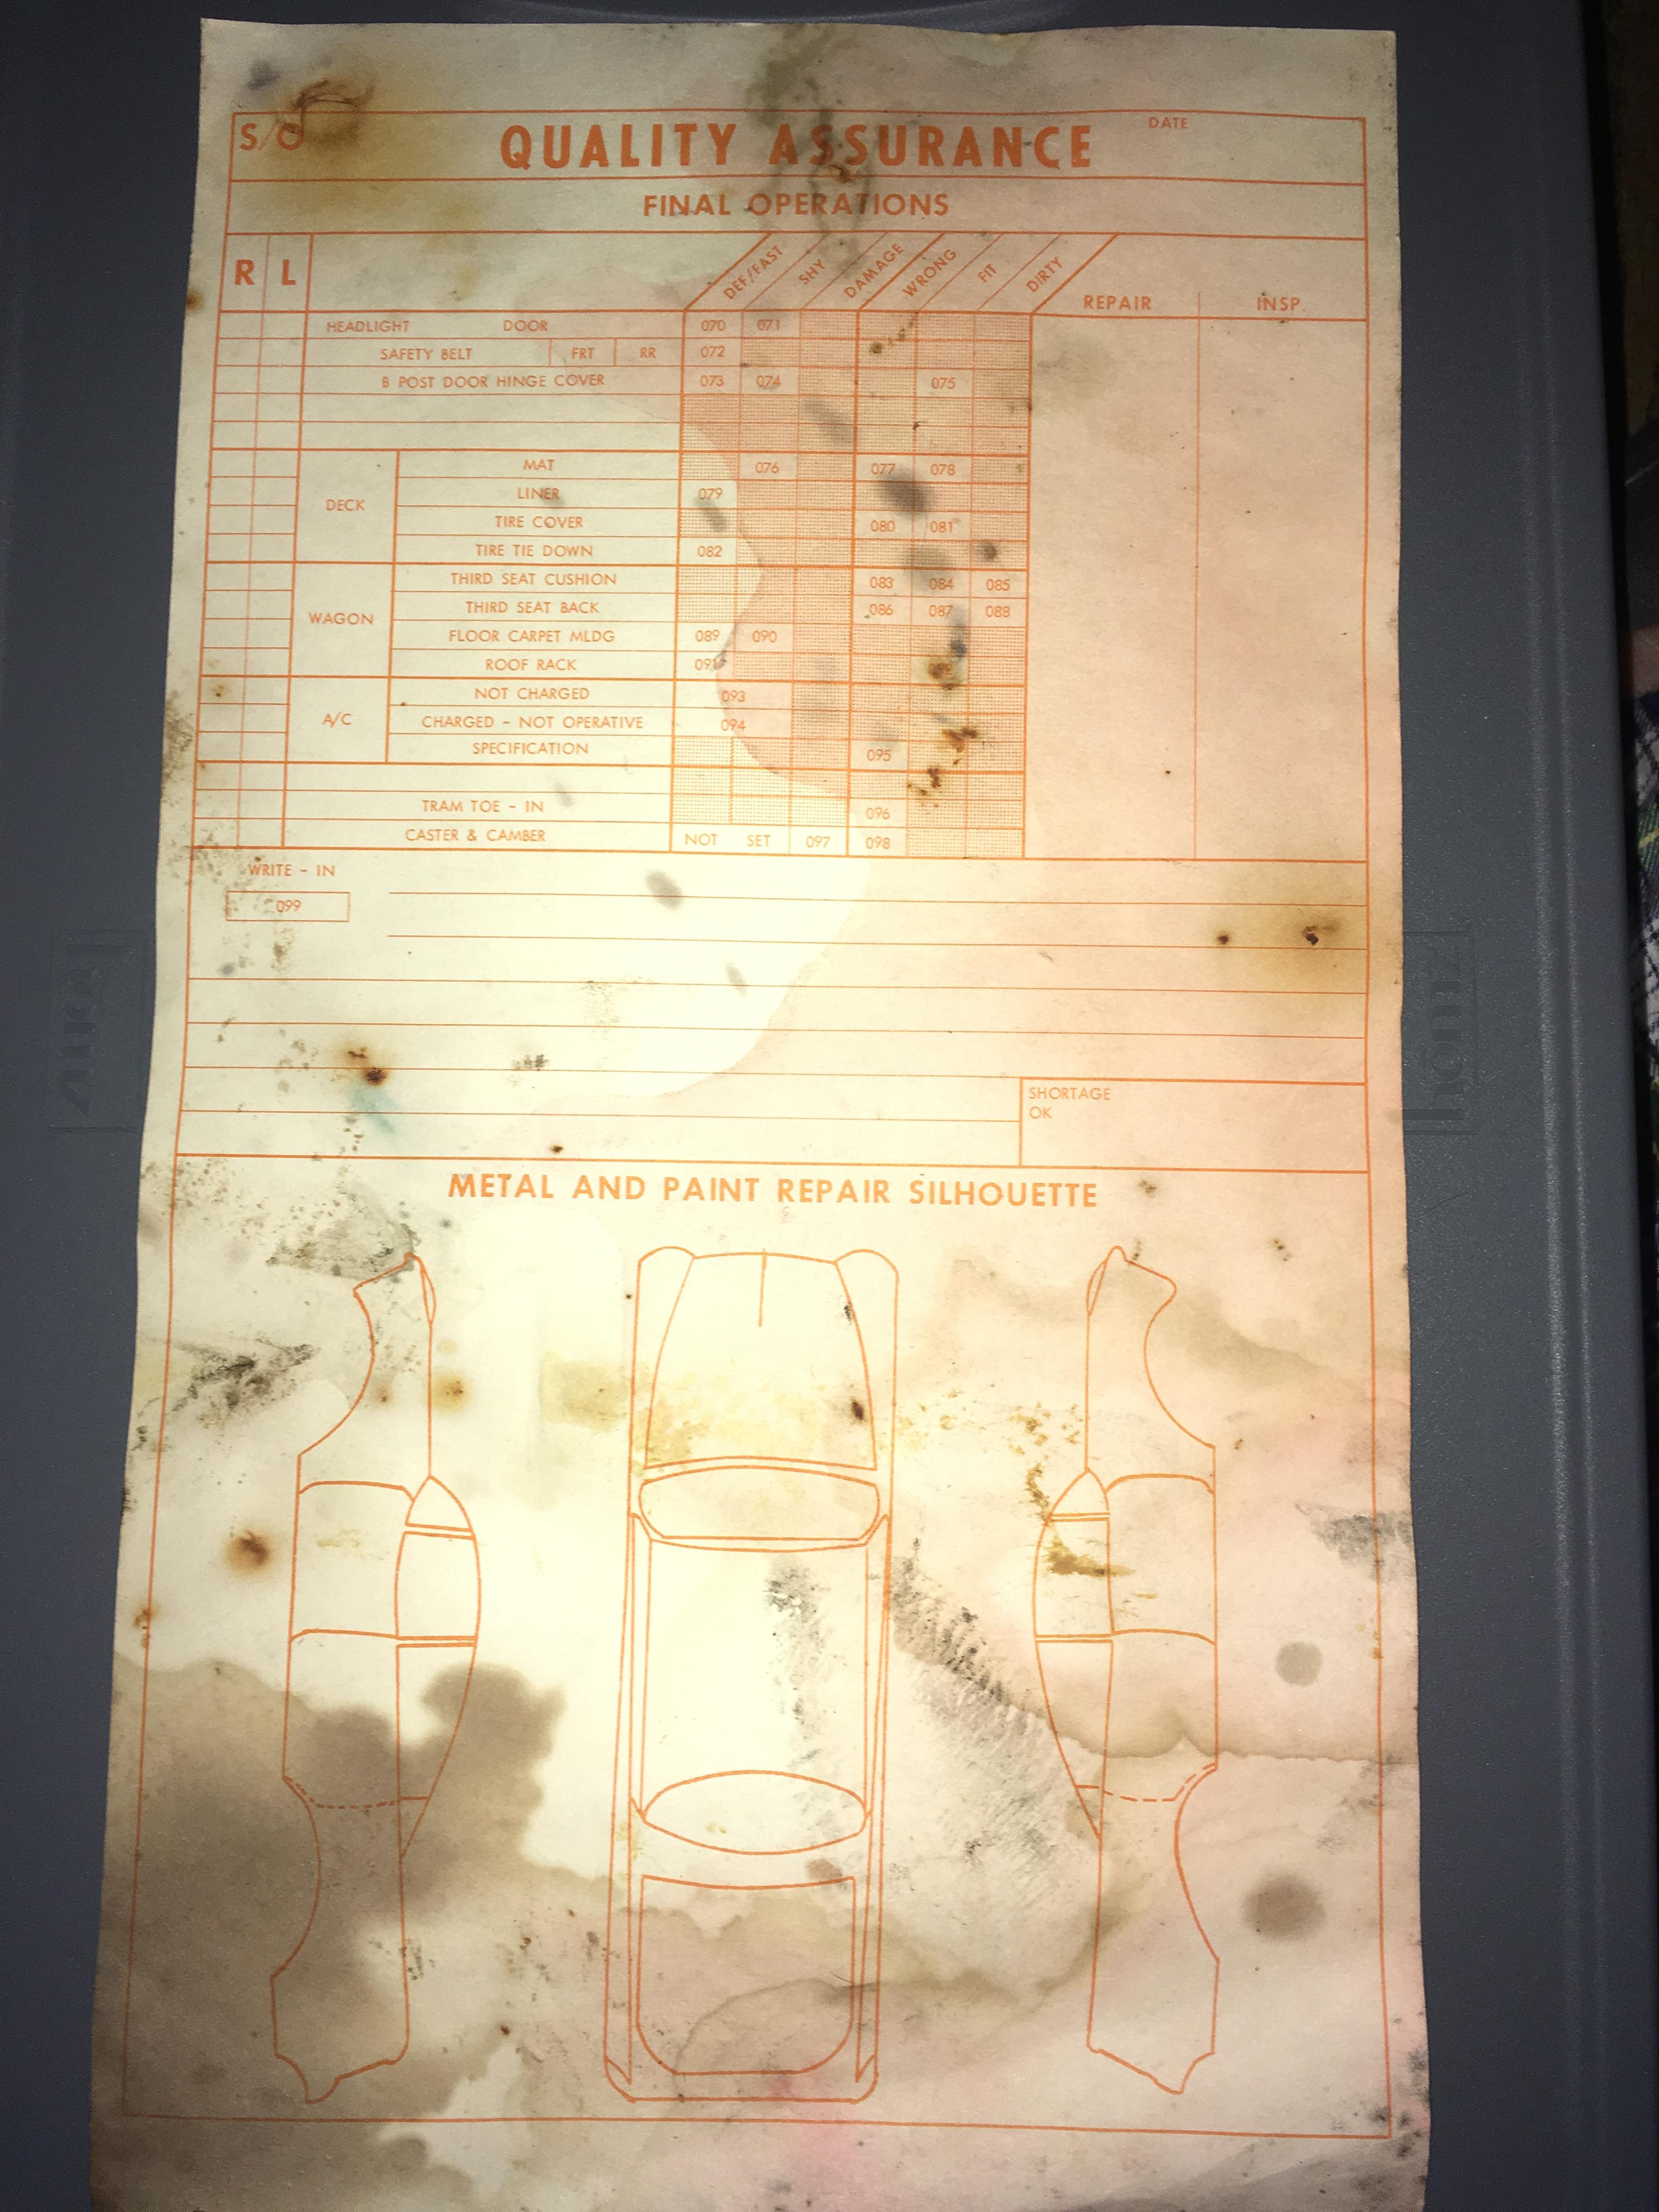
When I flipped over the rear seat bottom I found a
nicer version of the broadcast sheet. But it looked like I may damage it removing it. I photographed it and moved on.
20231113_211420.jpg


I started to pull up the carpet and I began to see something I've personally never came across...check this out @69CoronetRT

20231113_212118.jpg
20231113_212128.jpg
20231113_212141.jpg
20231113_212210.jpg
20231113_212405.jpg
 
Mings floors are in fair shape, but unfortunately on the passenger side it could have looked nicer. I didnt really find any cancer, but I didn't really dig.
20231113_211658.jpg
20231113_213012.jpg


I decided it would be best for the time being to lightly wire wheel the area and use the rust reformer to slow/stop further corrosion. I then did a top coat of the rubberized undercoating. This should buy us plenty of time to work out other bugs before becoming a real problem.

20231114_155138.jpg

20231114_161657.jpg


The following day I came back and returned focus to the bumpers. I cleaned up the bumper guards the best I could, however the fronts need to be replaced. Glad they are easy enough to get to with the bumper on the car.
20231116_180914.jpg


I didnt grab photos of reassembly. But here's the completed bumpers ready to go back on the car. Yes I also repaired the smashed wiring.

20231116_223508.jpg

20231116_223501.jpg
 
Carpet installation was next. I laid the new out in the sun for a while. I also dragged the old stuff over to compare.

20231117_140940.jpg
20231117_140958.jpg


Quick test fit in the car showed it was going to fit well.
20231117_141310.jpg

20231117_141931.jpg


I focused on getting the heel pad in the correct location and sent photos to some folks to verify it was pretty close to right. That's my biggest pet peeve on carpet installs, if the heel pad is too close to the seat it looks ridiculous.

20231117_144538.jpg
20231117_144554.jpg


And back together! Very very minimal trimming was done. This fit very well.
20231117_212821.jpg
20231117_213734.jpg
 
Since the carpet was done, I took the time this morning and afternoon to get the bumpers back on and mostly aligned. Might mess with tweaking them to perfection when I have a 2nd set of hands and 2nd set of eyes around to give me a hand.

That's it for now. Enjoy!

20231118_124836.jpg


20231118_140016.jpg


20231118_142509.jpg


20231118_150505.jpg


20231118_155806.jpg


20231118_155833.jpg
 
With all that stuff drying...I decide to move my focus inside. I pulled sill plates, kick panels, b pillar covers, followed by the seats. Thank God it's a 50/50 bench I was able to handle it myself without too much hassle.

View attachment 628279
View attachment 628280

When I flipped over the rear seat bottom I found a
nicer version of the broadcast sheet. But it looked like I may damage it removing it. I photographed it and moved on.View attachment 628287

I started to pull up the carpet and I began to see something I've personally never came across...check this out @69CoronetRT

View attachment 628282View attachment 628283View attachment 628284View attachment 628285View attachment 628286
I found a similar sheet in my '65 Barracuda.

toOoqfe.jpg

8cpWYGo.jpg
 
Carpet installation was next. I laid the new out in the sun for a while. I also dragged the old stuff over to compare.

View attachment 628296View attachment 628297

Quick test fit in the car showed it was going to fit well. View attachment 628298
View attachment 628299

I focused on getting the heel pad in the correct location and sent photos to some folks to verify it was pretty close to right. That's my biggest pet peeve on carpet installs, if the heel pad is too close to the seat it looks ridiculous.

View attachment 628300View attachment 628301

And back together! Very very minimal trimming was done. This fit very well.View attachment 628303View attachment 628304
Your factory hopped up Charger provides a great background image for Ming in this thread - great factory colors!!
 
Since the carpet was done, I took the time this morning and afternoon to get the bumpers back on and mostly aligned. Might mess with tweaking them to perfection when I have a 2nd set of hands and 2nd set of eyes around to give me a hand.

That's it for now. Enjoy!

View attachment 628307

View attachment 628308

View attachment 628309

View attachment 628310

View attachment 628311

View attachment 628312
Looks great. Heavy job. Was the heater core leaking or vent on pass side?
 
Back
Top