Hey thank you very much for your complete and detailed answer, I really appreciate!!

Ahahaha yes I haven't had time to tell you about it yet but I'm an incorrigible collector...
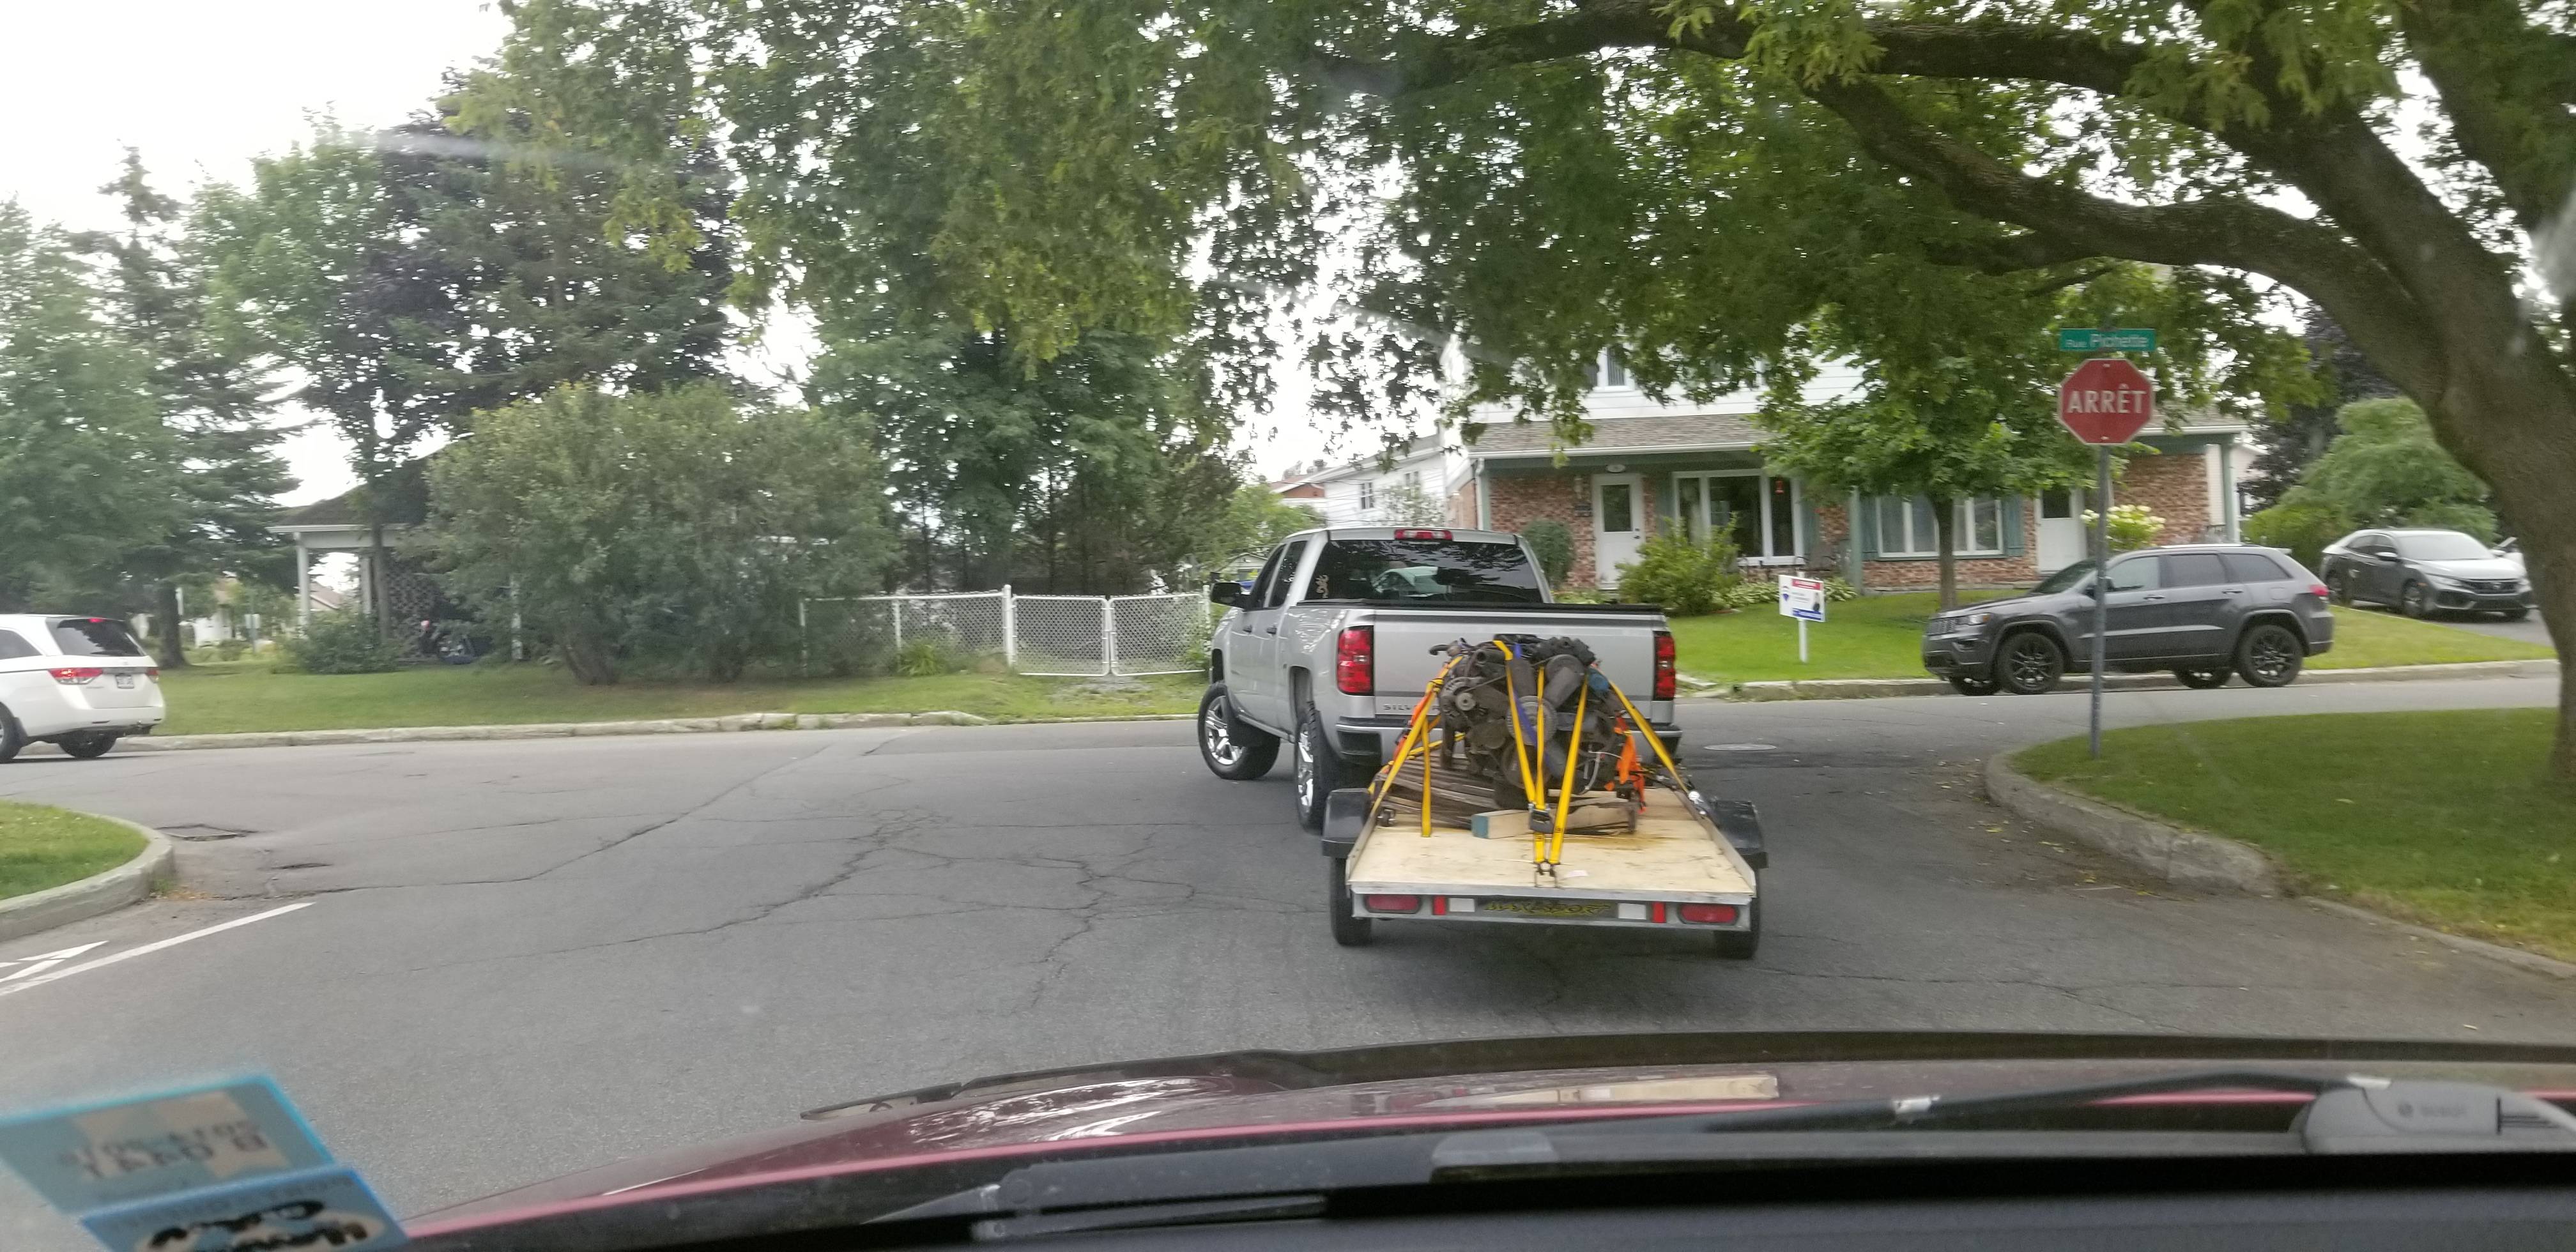
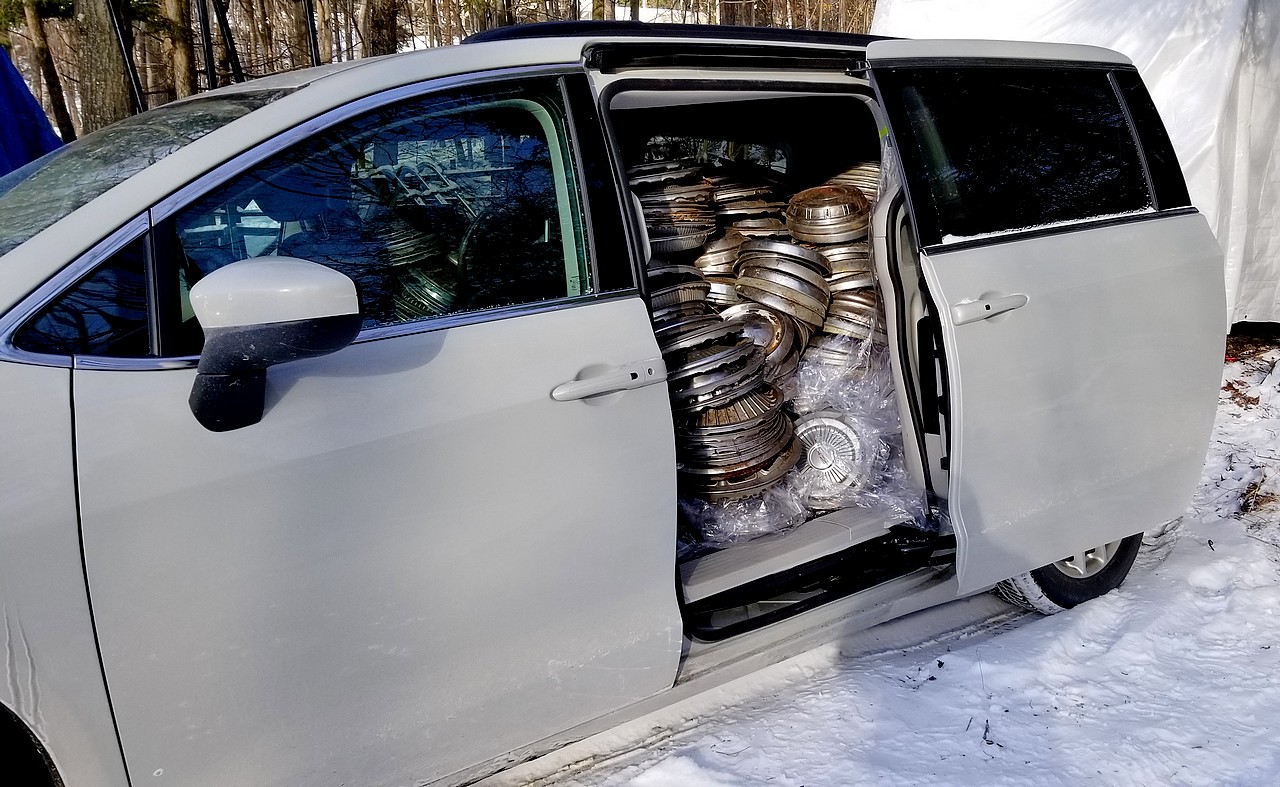
I picked up this lot of 1000+ vintage hubcaps (from 1930s to 70s, mainly 50/60s) recently, they will be used to decorate my garage walls when I have time (once retired) to take care of them

The problem is that in addition to collecting the real cars (6) and hubcaps (1200) I also collect car books (400+), car magazines (1500), car emblems/crests (2500), diecast cars (3000+) and dealership car brochures (12,000)...


Glad the new car made it home safe and sound. It looks great! I enjoyed the story of the New Yorker, the top side sure looked good, very similar to my story with a '71 Newport, though I knew it was a parts car when I bought it. And for what it's worth, it wasn't a Brougham, that package wasn't available on a New Yorker until '74. And It's not an HP 440, as you stated in your first post, it could be though!
Ahah thanks!

Parts-cars are often heartbreaking, but it's true that sometimes we have no choice

Sorry for the Brougham, I was sure it was but you are right, there was no Brougham NewYorkers in '70!

For the HP you're right too, at first i thought the dual-exhaust NewYorkers were all HP, I learned later that there was no HP NewYorker but I still called this one 440HP anyway I don't know why
You're right, a little prime is all it needs. And it's a dirty job, but you have to get under there, clean the area around the sending unit really well, apply penetrating fluid around the lock ring, use a hardwood or brass punch, or the proper tool, to remove. Inspect unit and tank, go from there. Be sure to save original lock ring if you need a new tank (hopefully not).
Alright thank you!

For the tank in the worst case (if there is some pinholes) as far I understand the shop can fix them, but for the sending unit I hope that the unit itself will be good and that I can just change the float and the sock
I plan to remove the tank tomorrow (the bolts are not even rusty, I'm sure that it was removed recently), I keep you informed!

No silicone under the trim! That would make doing the job the right way even more of a pain, and may risk breaking the glass or bending the trim(when trying to remove). To buy some time you can remove the rear seat and surrounding window trim, and carefully cut away excess butyl. You may be able to see some gaps at this point. Squeeze as much urethane into them as possible and apply a small bead around the perimeter. I've done this with great results.
I didn't know your method of acting for the inside, that's a good idea I'll try that to prevent water from entering the car thanks!

For the silicone the goal is above all to prevent rainwater from infiltrating under the moldings and stagnating there, eventually creating rust
The method is to apply rows of masking tape around the backglass molding, one on the body, one on the glass, and one on the molding (to do a visually clean and straight job), then apply a layer of silicone in the gap, only to block the passage to the water
If the job is done well, the water cannot get in any way so no trapped moisture possible, and the silicone applied in a enough small amount to prevent it from filling the space under the molding, can be cut and removed in case I later want to remove the backglass and the moldings
My good friend Denizen always did that on his Lincolns and I tried this method on my previous '68 300, it was quite good

In the case of a car that spends its (summer) time exposed to the weather I think it is very important to prevent water and moisture from seeping under the moldings and under the vinyl top
But if other methods exist I am fully attentive!

The master cylinder should be easy enough to find locally, booster is a little trickier. And looking at it, it needs replacing. Sometimes previous owners have installed the incorrect master, that one looks like a drum/drum master. Does your car have discs? If it's drum/drum, I have an extra booster, it needs rebuilding though, that usually runs about 4-500$. And careful when looking, B body's used the same booster, with a longer or shorter rod, I can't remember, it makes a difference, ask me how I know.
Oh yes I realize that the booster is quite difficult to find!

Mine is drum/drum
I found that on Rockauto: I have to send them a booster to rebuild, the operation itself seems affordable ($93 for the booster or $167 including the master-cylinder) but the shipping cost is not included and that's what must be expensive!
1969 CHRYSLER 300 7.2L 440cid V8 Power Brake Booster | RockAuto
Your booster might very well interest me, how much do you ask for it?

Great thanks for the precisions about the shorter/longer rods from B-bodies, and for all the infos!!!


